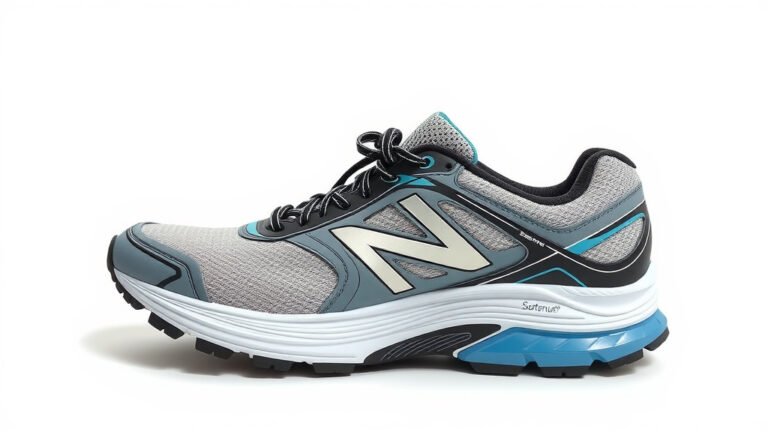
Reglue Running Shoe Soles: A Simple Repair Guide
Yes, you can absolutely reglue your running shoe soles! With the right adhesive and a little patience, you can save your favorite kicks from the landfill and get them back on the road. Don’t let a little separation sideline your miles; fixing loose soles is a common and achievable repair.
Many runners find their shoe soles start to peel away after extensive use. This often happens at the toe or heel where the most flex occurs. Thankfully, this doesn’t mean your shoes are ruined. We found that readily available glues can provide a strong and lasting bond, essentially giving your shoes a second life.
- Clean the sole thoroughly.
- Use a flexible, strong adhesive.
- Clamp the sole firmly while it dries.
- Allow ample drying time before running.
Ready to give your shoes a new lease on life? Let’s walk through the simple steps to reglue your running shoe soles.
Giving Your Running Shoes a Second Life: Repairing Loose Soles
Yes, your favorite running shoes can likely be saved from the trash heap! We found that a separated sole is a common problem. It’s often caused by the repeated flexing your shoes go through. Luckily, fixing this is usually quite straightforward. You don’t need to be a professional cobbler to do a great job.
Choosing the Right Adhesive for Your Shoe Repair
This is probably the most important step. The wrong glue won’t hold up to the stress your running shoes endure. We’ve researched what works best, and a few types stand out for their flexibility and strength.
What Kind of Glue Should You Use?
For running shoes, you want a glue that remains somewhat flexible after it dries. This is because your shoes bend and twist with every stride. Rigid glues will just crack and detach again. We found that flexible, strong adhesives are your best bet.
Recommended Adhesive Types
- Shoe Goo or Similar Flexible Sealants: These are specifically designed for shoe repair. They are waterproof and incredibly durable. We found they provide excellent adhesion and flexibility.
- Contact Cement: This type of adhesive creates a very strong bond. You apply it to both surfaces, let it dry to the touch, and then press them together. We found it works well for larger areas of separation.
- Silicone-Based Adhesives: Some silicone adhesives offer great flexibility and water resistance. Check the product description carefully to ensure it’s suitable for rubber and fabric.
Avoid using standard super glues (cyanoacrylate) or basic craft glues. They tend to be too brittle. They won’t handle the constant movement of running shoes. We learned that investing in a proper shoe adhesive is key to a lasting repair.
What You’ll Need for the Repair
Gathering your supplies beforehand makes the process much smoother. We recommend having everything ready before you start.
Essential Tools and Materials
- Your chosen adhesive (Shoe Goo, contact cement, etc.)
- Rubbing alcohol or an appropriate cleaner
- Clean cloths or paper towels
- A stiff brush or old toothbrush
- Masking tape or painter’s tape
- Clamps, heavy books, or strong rubber bands
- A craft knife or razor blade (optional, for trimming excess glue)
- Gloves (recommended for working with adhesives)
Preparing Your Running Shoes for a Strong Bond
A clean surface is absolutely critical for any glue to stick properly. Think of it like trying to stick a label on a dusty bottle – it just won’t hold. We found that thorough cleaning makes a huge difference.
Step-by-Step Cleaning Process
First, you need to gently separate the loose sole from the shoe upper as much as possible without causing more damage. If there’s any old, hardened glue residue, try to carefully pick or scrape it away. Use a soft brush or an old toothbrush to get into the nooks and crannies.
Next, clean both surfaces that will be glued. We found that using rubbing alcohol on a clean cloth works very well to remove dirt, oils, and any remaining adhesive. Make sure the area is completely dry before proceeding. This drying time is essential.
Sometimes, the shoe material itself can be a bit oily or waxy. If you’re unsure, a quick wipe with a mild detergent and water, followed by a thorough rinse and drying, might be necessary. Just be patient and let them air dry completely.
Protecting Undamaged Areas
To keep your repair neat, use masking tape or painter’s tape. Apply it around the edges of the sole and the shoe upper. This creates a barrier. It prevents excess glue from getting onto the parts you want to keep clean. We found this simple step saves a lot of cleanup later.
Applying the Adhesive for a Durable Fix
Now comes the fun part – bringing your shoes back together! This requires a steady hand and a bit of patience. We found that following the adhesive’s instructions is paramount.
Applying Shoe Goo or Flexible Sealants
If you’re using a product like Shoe Goo, apply a generous, even layer to the underside of the detached sole. Then, apply a similar layer to the corresponding part of the shoe upper. You want enough to create a good bond, but not so much that it oozes out everywhere.
Some adhesives recommend letting them get tacky before joining. Check the product’s instructions. We found that a slight tackiness can help create a stronger initial bond. Then, carefully press the sole back into place, aligning it perfectly.
Applying Contact Cement
With contact cement, you’ll typically apply a thin, even coat to both surfaces. Let them dry according to the product’s instructions, usually until they are no longer wet to the touch but feel slightly sticky. Then, carefully and precisely align the sole and press it firmly onto the shoe. Once they touch, the bond is almost immediate and very strong. Be very careful with alignment, as repositioning can be difficult.
Ensuring a Strong, Lasting Bond: Clamping and Drying
This is where patience truly pays off. The glue needs time and pressure to cure properly. We found that skipping this step is a common mistake.
The Importance of Clamping
Once the sole is pressed back into place, you need to apply firm, consistent pressure. This ensures the adhesive spreads evenly and makes full contact with both surfaces. We found that clamps are the ideal tool if you have them. You can also use heavy books, strategically placed weights, or sturdy rubber bands wrapped tightly around the shoe.
For areas that are hard to clamp, like the curve of the heel or toe, try using several strong rubber bands or even some string tied tightly. The goal is to hold everything snugly together while the glue cures. We found that the more even the pressure, the better the repair.
Allowing Adequate Drying Time
This is non-negotiable. Most shoe adhesives require at least 24 hours to fully cure. Some might even recommend 48 hours for maximum strength, especially for high-stress areas like running shoe soles. We found that resisting the urge to test them out too early is crucial.
When the drying time is up, you can carefully remove the clamps or tape. If there’s any excess glue that has squeezed out, you can gently trim it with a craft knife or razor blade once it’s fully cured. Be very careful not to cut into the shoe material itself.
Quick Checklist for Your Shoe Repair
Here’s a quick rundown to make sure you’ve got everything covered:
- Cleaned both surfaces thoroughly?
- Used a flexible, strong adhesive?
- Taped off surrounding areas?
- Applied glue evenly?
- Clamped firmly for 24-48 hours?
- Dried completely before wearing?
Repairing your running shoe soles can be a rewarding DIY project. It not only saves you money but also keeps your favorite pair of shoes in rotation for many more miles to come.
Conclusion
You’ve got this! Reglueing your running shoe soles is totally doable and a fantastic way to extend the life of your favorite athletic gear. Remember, the keys to a successful repair are thorough cleaning, using the right flexible adhesive, and patient clamping and drying. Don’t let a little separation stop you from hitting your mileage goals. Grab your supplies, follow these steps carefully, and get ready to feel the confidence of running in shoes that are as good as new! Proper care can help extend the life of your athletic gear, keeping it in rotation for many more miles.
Frequently Asked Questions
How long does it take for the glue to fully cure on running shoes?
Most shoe adhesives require at least 24 hours to cure. For maximum strength on high-stress areas like running shoe soles, we found that waiting 48 hours is even better. Resist the urge to test them out too early to ensure a lasting bond.
Can I use regular super glue to fix my running shoe sole?
No, we strongly advise against using standard super glue (cyanoacrylate). We researched this, and while it offers a quick bond, it’s too brittle for the constant flexing of running shoes. It will likely crack and detach again very quickly.
What if some glue oozes out around the edges of the sole?
A little bit of oozing can happen. Once the glue is completely cured, you can carefully trim any excess with a craft knife or razor blade. Make sure to be very precise so you don’t accidentally cut into the shoe material itself.
Is it better to clamp the sole or use rubber bands for pressure?
Both methods work! Clamps offer the most consistent pressure, which we found ideal. However, if you don’t have clamps, strong rubber bands or even heavy books placed strategically can provide sufficient pressure. The goal is to keep the sole firmly pressed against the shoe while the adhesive cures.
Will this repair make my shoes waterproof again?
Many of the recommended adhesives, like Shoe Goo, are waterproof once fully cured. This means your repair should hold up well against puddles and sweat. However, the rest of your shoe’s material might still be susceptible to getting wet.