Fix Worn Running Shoe Soles: A Step-by-Step Guide
Yes, you can often fix worn running shoe soles yourself to extend their life and keep your feet happy. Minor wear on the rubber parts of your soles can be addressed with DIY repair methods, saving you from buying new shoes sooner. We found that by using the right materials and a little patience, you can revive your favorite kicks.
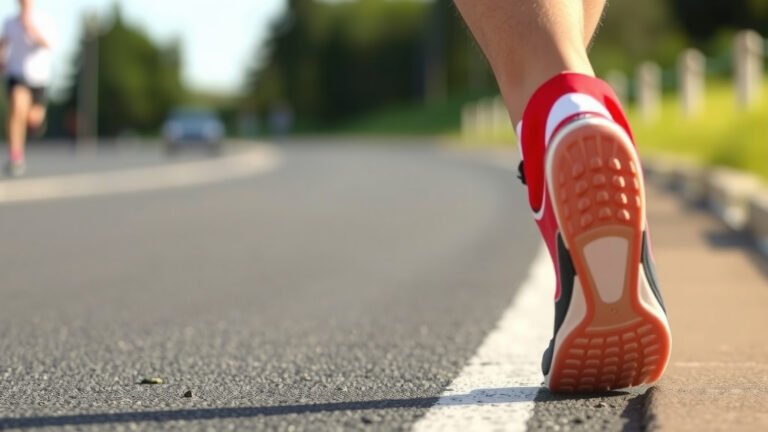
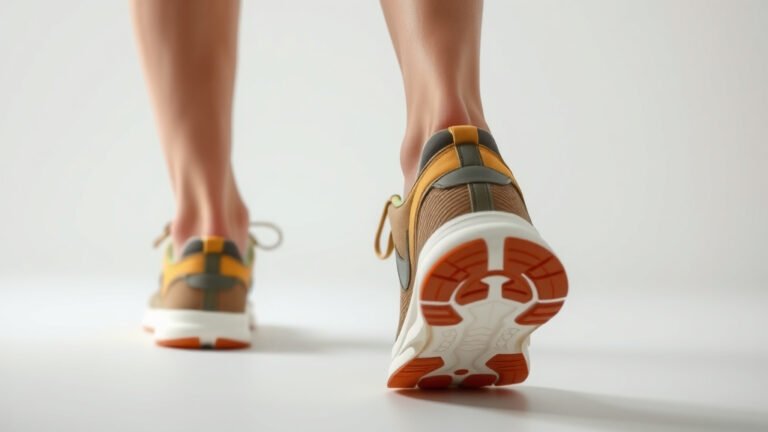
Running shoe soles wear down due to friction, impact, and the materials they’re made from. Understanding the common types of sole wear is your first step in knowing if a repair is possible. You might see balding tread, small holes, or even chunks missing. Many runners overlook sole damage until it causes discomfort or affects performance, but addressing it early is key.
TL;DR:
- Yes, you can repair worn running shoe soles yourself.
- Common issues include balding tread and small holes.
- DIY repairs can save you money and shoe life.
- Proper materials and patience are essential for success.
Let’s walk through exactly how you can give those soles a new lease on life, step by step.
Revitalizing Worn Running Shoe Soles: A DIY Guide
It’s frustrating when your favorite running shoes start to show their age. The good news is that you don’t always need to toss them out. With a few simple tools and some patience, you can often repair worn running shoe soles yourself. This can save you money and keep your trusty shoes in action longer. We found that most common issues, like balding tread or small tears, are quite manageable for the DIYer. Owning a second pair can also help extend shoe life through rotation.
Assessing Your Shoe’s Sole Damage
Before you grab any glue, take a good look at your shoes. Not all damage is repairable at home. You’re looking for specific types of wear. Are the soles smooth and slick, like a worn-out tire? Or are there actual chunks missing, or deep cracks? Understanding the extent of the damage helps you decide if a DIY fix is the right path for your shoes.
Types of Wear You Can Fix
You can often fix these common sole issues:
- Balding Tread: This is when the rubber tread pattern wears down, losing its grip. It looks smooth and shiny instead of grippy.
- Minor Abrasions: Small scrapes or scuffs on the sole are usually easy to address.
- Small Tears or Punctures: Tiny holes or small rips in the rubber can often be patched.
- Separating Midsole/Outsole: If the layers of your shoe are starting to peel apart, especially at the front or heel.
When to Call It Quits (For DIY)
Some damage is beyond a simple home repair. If you see:
- Severe Cracking: Deep, widespread cracks throughout the sole.
- Large Missing Chunks: If a significant piece of the sole is gone.
- Foam Degradation: The midsole foam (the squishy part) is crumbling or disintegrating. This is a sign the shoe has reached its end of life.
- Structural Damage: If the upper part of the shoe is torn or the shoe is completely broken down.
If your shoes fall into these categories, it might be time to invest in a new pair. Running on damaged shoes can lead to injury, and some wear is just too much for a DIY patch-up (Cleveland Clinic).
Gathering Your Repair Supplies
Having the right materials is key to a successful repair. You don’t need a professional workshop, but a few specific items will make the job much easier. Think of it like preparing for a craft project, but for your feet!
Essential Tools and Materials
Here’s a checklist of what you’ll likely need:
- Flexible Shoe Adhesive: This is crucial. You need a glue designed for shoes that stays flexible after drying. Many craft glues will crack and fail. Look for brands specifically made for shoe repair.
- Rubber Repair Compound or Patches: For filling in worn areas or small holes. Some kits come with a malleable rubber compound you can shape.
- Sandpaper: Medium to fine grit. This helps clean the surface and create a better grip for the adhesive.
- Rubbing Alcohol or Acetone: For cleaning the sole before repair. A clean surface is vital for good adhesion.
- Gloves: To keep your hands clean and protect them from the adhesives.
- Craft Knife or Razor Blade: For trimming any excess material or smoothing rough edges.
- Clamps or Heavy Objects: To hold the sole in place while the glue dries.
Step-by-Step Repair Process
Now for the hands-on part! Following these steps will guide you through the repair. Take your time and work in a well-ventilated area. Rushing can lead to mistakes.
1. Clean and Prepare the Sole
First, clean your shoe thoroughly. Remove any dirt, mud, or debris. Use soap and water if needed, and let the shoe dry completely. Then, wipe down the specific areas you’ll be repairing with rubbing alcohol or acetone. This removes any oils or residues that could prevent the glue from sticking. We found that a really thorough cleaning makes a huge difference.
2. Sand for Better Adhesion
Lightly sand the area you are repairing. You don’t need to remove material; just rough up the surface slightly. This creates microscopic grooves. These grooves give the adhesive something to grip onto, making your repair much stronger and more durable. Wipe away any sanding dust with a clean cloth.
3. Apply the Adhesive or Rubber Compound
This is where you fill in the gaps or reattach separated parts.
- For Balding Tread: If the tread is just worn smooth, you might use a flexible adhesive to build up the pattern. Some repair kits have a rubber compound you can spread. Apply it evenly.
- For Small Holes or Tears: Use the rubber repair compound to fill the hole. If you have a patch, apply adhesive to both the patch and the shoe sole, then press them together firmly.
- For Separating Layers: Carefully apply the shoe adhesive into the gap. Make sure to get it between the separated layers, not just on the edges.
4. Clamp and Cure
Once the adhesive is applied, you need to hold the repaired area together firmly while it dries. Use clamps, rubber bands, or even heavy books to apply steady pressure. Check the adhesive’s drying time. It might take several hours or even overnight for the glue to fully cure. Resist the temptation to test it too soon!
5. Trim and Refine
After the glue has completely dried, remove any clamps. You might have some excess adhesive or rubber compound that squeezed out. Carefully trim this away with a craft knife or razor blade. You can also lightly sand down any rough spots. The goal is a smooth, seamless repair that won’t cause blisters or affect your stride.
Maintaining Your Repaired Soles
Once your shoes are fixed, you want them to last. Proper care after the repair is just as important as the repair itself. Think of it as giving your shoes a little spa treatment to keep them happy.
Tips for Longevity
We found that these habits help extend the life of your repaired shoes:
- Avoid Extreme Conditions: Try not to run in very hot or very cold temperatures, as this can affect the adhesive.
- Clean Regularly: Gently clean your shoes after muddy runs to prevent dirt buildup.
- Store Properly: Keep your shoes in a cool, dry place away from direct sunlight when not in use.
- Rotate Your Shoes: If you run frequently, rotating between multiple pairs allows each shoe to fully dry and recover between runs. This reduces stress on the soles. Many podiatrists recommend this practice (American Podiatric Medical Association).
Conclusion
You’ve learned that those worn running shoe soles don’t have to signal the end of your favorite pair. With a little effort and the right supplies, you can extend the life of your running shoes. Remember to carefully assess the damage first, gathering your flexible adhesive and cleaning supplies. Follow the steps for cleaning, sanding, applying, and curing. Proper maintenance after your repair will help keep your kicks performing their best. So, take that first step and give your shoes a second chance today!
Frequently Asked Questions
How long does a DIY shoe sole repair typically last?
The longevity of your repair depends on several factors. This includes the type of damage, the quality of materials you use, and how much you run. A well-done repair on minor wear can last for many miles. However, it’s important to monitor the repaired area and be prepared for future touch-ups.
Can I use super glue to fix my running shoe soles?
We strongly advise against using regular super glue or craft glues. These glues become rigid when dry, which can cause them to crack or detach with the natural flex of your shoe. Always opt for a flexible shoe adhesive specifically designed for footwear repairs.
What’s the difference between the midsole and outsole on a running shoe?
The outsole is the outermost rubber layer of your shoe that provides traction and grip. The midsole is the layer beneath it, usually made of foam, which provides cushioning and shock absorption. Most DIY repairs focus on the outsole, but sometimes the outsole can start to separate from the midsole.
Is it safe to run in shoes with repaired soles?
Yes, it is generally safe to run in shoes with properly repaired soles, as long as the repair is solid and doesn’t create any discomfort. If the repair feels rough, stiff, or seems like it might cause a blister, it’s best to avoid running in them until you can smooth it out. Always prioritize comfort and listen to your body.
How do I know if my shoe sole is too worn to repair?
If your sole has deep, widespread cracks, large chunks missing, or if the foam midsole is crumbling, it’s likely beyond a simple DIY repair. These issues can compromise the shoe’s structure and support, increasing your risk of injury. When in doubt, it’s better to invest in a new pair.