Break In New Shoes: Your Essential Test Run Guide
The best way to do a test run in new shoes is to start with a short, low-impact walk around your home. This lets you gauge comfort and identify potential hot spots before committing to longer outings. You want to feel how they move with your foot. It’s all about a gentle introduction to prevent blisters and discomfort later.
Testing new shoes before a big event or workout is a smart move. Many runners and walkers find this simple step prevents painful surprises. We found that a home test run helps you understand your new footwear’s fit and feel. It’s the easiest way to ensure they’ll be a good match for your feet.
- Wear them indoors first.
- Walk for 10-15 minutes initially.
- Pay attention to any rubbing or pinching.
- Wear the socks you’ll use with them.
Ready to give your new kicks a trial run? Let’s walk through the best way to do it, step by step, so you can hit the ground running (or walking!) comfortably.
Giving Your New Shoes a Proper Test Drive
So you’ve got a shiny new pair of shoes. Maybe they’re for running, walking, or just looking fabulous. Before you lace them up for that marathon or a full day on your feet, you need to get acquainted. Think of it like a test drive for your car. You wouldn’t take a new car on a road trip without checking the brakes, right? The same applies to your footwear. Your feet are sensitive, and giving them a gentle introduction to new shoes can prevent a lot of unnecessary pain down the line.
The First Step: Indoors is Your Friend
Your first move should always be to wear the shoes around your home. This is the safest environment. You have familiar flooring and the ability to stop immediately if something feels off. Try walking on carpet, then on a hard floor like tile or wood. This helps you feel how the shoe interacts with different surfaces and how your foot moves inside it. Research suggests this initial indoor wear can help break in shoes slightly and reveal potential issues without major consequences (Podiatry Today).
Socks Matter!
It’s super important to wear the exact type of socks you plan to use with these shoes. Are they thin athletic socks? Thick wool socks? Compression socks? The sock material and thickness can dramatically affect the fit. A shoe that feels okay with a thin sock might feel tight and constricting with a thicker one. This step is often overlooked but can be a game-changer for comfort.
How Long is Enough for the First Go?
Start small. Aim for about 10 to 15 minutes of walking around your house. You’re not trying to conquer any distance here. You’re just trying to get a feel for the shoe. Listen to your feet. Are they happy? Are they silent? Or are they starting to send out tiny SOS signals?
What to Look for During Your Indoor Test
As you walk, be a detective. You’re looking for any signs of trouble. Pay close attention to the pressure points. Where does the shoe touch your foot? Are there any areas that feel too tight, pinch, or rub? These are often the first indicators of future blister zones. Even a slight discomfort indoors can become a major problem on a long walk or run.
The “Hot Spot” Hunt
A “hot spot” is that tell-tale warm, slightly irritated feeling on your skin before a blister forms. If you feel anything like this, even for a moment, take the shoe off. It’s your foot’s way of saying, “Hey, something’s not quite right here!” It might mean the shoe isn’t the right shape for your foot, or it might just need a bit more breaking in.
Check the Fit: Heel and Toes
When you walk, does your heel slip out of the back of the shoe? This is a common issue and can lead to blisters or instability. Also, make sure you have enough room in the toe box. Can you wiggle your toes freely? Your toes shouldn’t feel cramped or jammed against the front of the shoe. You should have about a thumb’s width of space between your longest toe and the end of the shoe.
Gradually Increasing the Challenge
Once your initial indoor test run goes well – no hot spots, no pinching, and a comfortable fit – you can slowly increase the duration. The next step is to extend your time wearing them around the house. Try an hour or two, perhaps while doing chores or just relaxing.
The First Outdoor jaunt
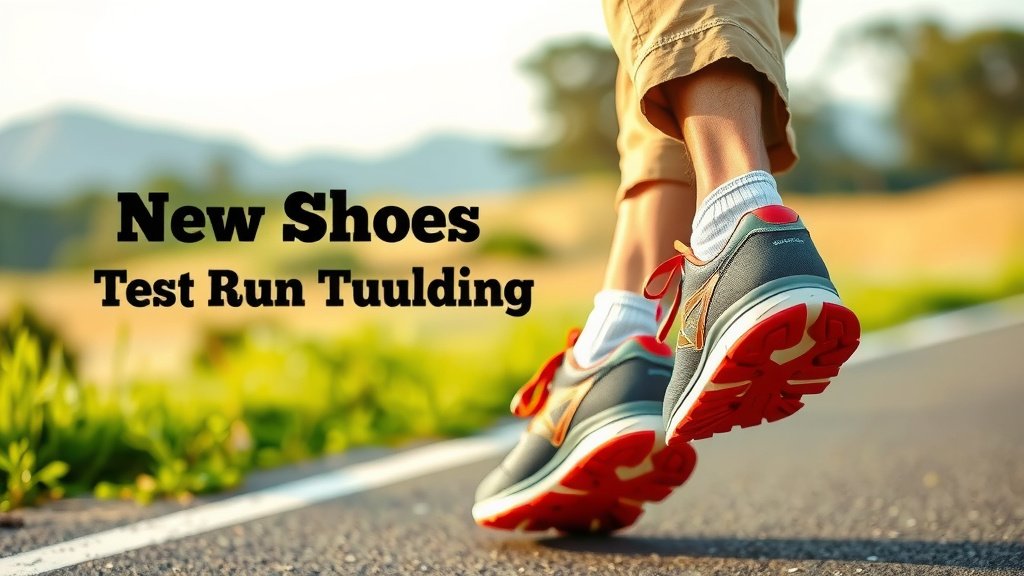
When you feel ready for a short outdoor excursion, keep it simple. A 20-30 minute walk on a flat, familiar surface is perfect. Think a stroll around your neighborhood block or a walk in a local park. Avoid uneven terrain, hills, or intense activity for this first outdoor test.
The Goal: Familiarity, Not Endurance
The aim of these initial outings is to build familiarity. You want to see how the shoes perform when your feet start to get a little warmer and perhaps swell slightly with activity. This is where you might discover if the shoes have good arch support for you or if the cushioning feels just right over a longer period.
Listen to Your Feet: The Ultimate Guide
Ultimately, your feet are the best judges. We found that paying attention to subtle cues is key. If a shoe consistently causes discomfort, no matter how stylish or expensive it was, it’s probably not the right shoe for you. Many podiatrists recommend prioritizing comfort and proper fit over brand or aesthetics (American Podiatric Medical Association).
When to Call It Quits
If after a couple of test runs you’re still experiencing significant rubbing, pinching, or pain, it’s okay to admit defeat. Some shoes just aren’t compatible with certain foot shapes or gaits. It’s better to return or exchange them than to push through pain and risk injury.
Here’s a quick checklist to help you remember the key steps:
- Wear your new shoes with the socks you’ll use.
- Start with 10-15 minutes indoors on various surfaces.
- Check for any rubbing, pinching, or “hot spots.”
- Ensure your heel isn’t slipping and your toes have room.
- Progress to a short 20-30 minute outdoor walk on flat ground.
- Trust your feet – comfort is the most important factor.
Conclusion
You’ve learned how to give your new shoes a smart test run. It’s all about starting slow and listening to your feet. We found that a gentle indoor introduction is key to spotting potential issues early. Gradually increasing wear time and then taking them outside for a short walk confirms their comfort. Your feet are your best guide, so don’t ignore any discomfort. Be ready to return shoes that don’t feel right for your unique feet. Now, go lace them up for that initial gentle assessment!
Frequently Asked Questions
How soon can I wear my new shoes outside after the first indoor test?
After your initial 10-15 minute indoor wear test, if you didn’t feel any pinching or rubbing, you can progress to a short outdoor walk. Aim for about 20-30 minutes on a flat, familiar surface like your neighborhood sidewalk. This gentle outdoor trial helps your feet adjust further without overdoing it.
What if my new shoes feel a little stiff at first?
A bit of stiffness is normal with new shoes. The indoor test run helps you identify if it’s just stiffness that will ease up or actual pinching. If it’s mild stiffness, continue wearing them around the house for longer periods. If it feels like a pressure point, that’s a sign to be more cautious.
Can I wear my new athletic shoes for a gym test run?
For athletic shoes, it’s best to start with walking at home first, then a short outdoor walk, before heading to the gym. Your initial test run is about identifying basic fit and comfort on your feet. Activities at the gym can put different stresses on your shoes, so let your feet get used to them first.
What should I do if I feel a hot spot during my indoor test?
If you feel a “hot spot” or any rubbing during your indoor test, take the shoes off immediately. This is your foot’s signal that something isn’t right. It could be the shoe’s shape or a potential blister forming. It’s a clear sign that the shoe might not be the best fit for you.
How many times should I test run my new shoes before a long event?
We recommend at least two gradual test runs: one longer indoor session (an hour or two) and one short outdoor walk (20-30 minutes). If these go well, you can increase the outdoor walk duration. Trust your comfort level; if you’re still experiencing issues, consider exchanging them before a long event.