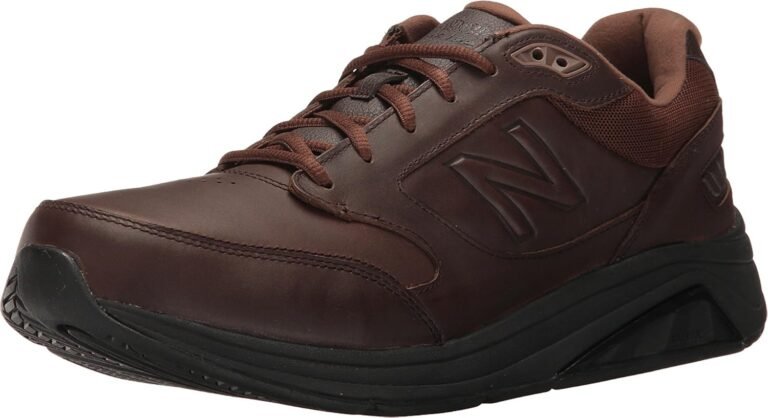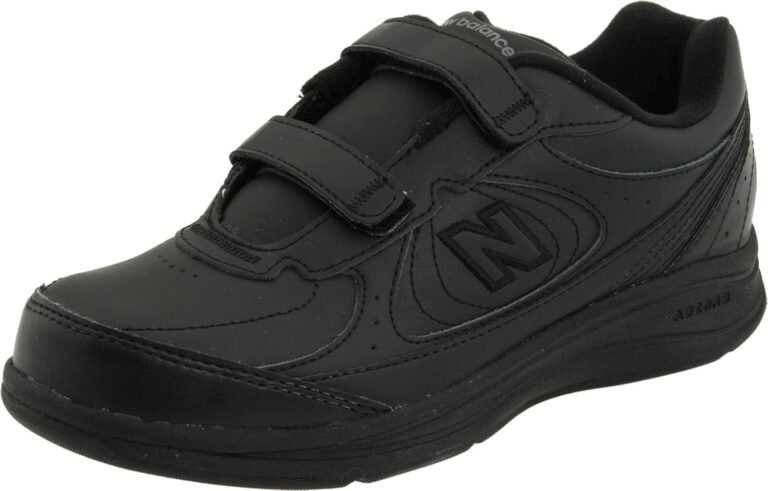
5 Fast Ways to Break in Walking Shoes Quickly
The fastest way to break in walking shoes is to use the hairdryer and thick sock method or simply wear them around the house in short bursts. You want to soften the stiff material and let your foot mold the shoe gradually. We found that combining heat with movement is the quickest way to get that “broken-in” feel without the pain.
Nobody wants to deal with blisters or sore heels on their first big walk. The key is to stretch the tight spots while protecting your skin from friction. You can speed up the process with a few simple tools you already own, like a freezer bag and some water. It is all about working smarter, not harder, to make your new shoes comfortable fast.
- Use a hairdryer: Heat the tight areas while wearing thick socks for 20 minutes.
- Freeze them: Fill bags with water, wedge them inside, and freeze overnight to stretch the fabric.
- Wear them indoors: Walk around the house for 30 minutes daily to avoid sudden pressure.
- Bend and twist: Manually flex the sole to loosen the midsole and reduce stiffness.
- Use a shoe stretcher: Apply it overnight for stubborn spots like the toe box or heel.
Below, we break down exactly how to do each method safely and what to avoid so you don’t ruin your new kicks. Let’s walk through the step-by-step process to get you on your feet comfortably in record time.
Speeding Up the Break-In Process for Your New Walking Shoes
You just got a fresh pair of kicks, and they feel like plaster casts. That stiff sole and those unforgiving heel counters are a recipe for misery. We found that with a little targeted effort, you can cut the break-in time from weeks down to a day or two. If you’re wondering whether your new pair of Vans can handle the pavement, our guide to Vans as walking shoes covers the key differences.
The trick is to soften the material safely. You are not trying to destroy the shoe. You are just coaxing it into shape. Let’s get those shoes ready for the pavement.
Why New Shoes Feel So Stiff in the First Place
Most walking shoes are built with layers of glue, foam, and synthetic mesh. These materials are rigid when new. They need time to flex with your foot’s natural motion.
The midsole foam is often the culprit. It is dense before it warms up. The heel counter, that plastic cup around your ankle, is also stiff to provide support. This stiffness causes friction, which leads to blisters.
Your body heat and movement do the heavy lifting. We found that simply walking triggers the foam to compress and mold. You just need to speed up that process safely.
Understanding the Material Limits
Before you apply heat or water, check the shoe label. Leather stretches differently than knit mesh. Most modern walking shoes use synthetics that respond well to heat. However, too much heat can melt the glue holding the sole on.
Keep your heat source moving. Do not focus on one spot for too long. We suggest a medium heat setting for all materials to avoid damage.
Using Heat to Soften Stiff Walking Shoes
Heat is your best friend when breaking in tight shoes. It makes the materials pliable and ready to stretch. The key is to combine heat with the right socks to avoid burning your feet.
This method works wonders on the toe box and the sides of the shoe. It is fast, effective, and uses items you already have at home.
The Hairdryer and Thick Sock Method
This is our go-to method for a quick fix. Start by putting on a pair of thick wool socks. They need to be snug inside the shoe, filling out the space.
Put the shoes on your feet and lace them up normally. Then, grab your hairdryer. Set it to medium heat and wave it over the tight areas for about 20 minutes.
Focus on the toe box and the sides where you feel pressure. Keep the dryer moving constantly. You want the shoe to feel warm, not hot. Once it feels warm and slightly soft, walk around the house for 10 minutes.
This lets the shoe cool and set in the stretched shape. Many podiatrists agree that gradual stretching is safer than forcing the shoe (Mayo Clinic). This method gives you that gradual stretch with a time crunch.
Why Thick Socks Matter for the Stretch
Thick socks act as a mold. They push against the shoe’s interior while the heat relaxes the fibers. Without them, the shoe would just stretch to your normal foot size, not the extra room you need.
If you do not have wool socks, wear two pairs of regular cotton socks. The goal is to add bulk inside the shoe to stretch it outward. The thicker the sock, the more give you get.
Safe Heat Application Tips
Keep the hairdryer at least six inches away from the shoe. This prevents scorching the upper material. Keep it moving in a circular motion to distribute the heat evenly.
Do not use a heat gun or an iron. They get too hot and can melt the synthetic fibers or the glue. A standard hairdryer is all the heat you need.
If the shoe cools down before you feel a stretch, repeat the process. It usually takes two or three cycles for very stiff shoes. This is a safe, controlled way to get the job done.
Freezing Water to Stretch the Material
Water expands when it freezes. We use that simple science to stretch shoes from the inside. This method is excellent for stubborn spots like a narrow toe box.
It is a “set it and forget it” approach. You do the prep work at night, and the stretching happens while you sleep.
The Freezer Bag Technique Step by Step
Grab two sturdy zip-top freezer bags. Fill each one about halfway with water. Squeeze out as much air as possible before sealing them.
Place one bag inside each shoe. Push the bag down into the toe box area. Make sure it fills the tight spots completely.
Put the shoes in the freezer overnight. The water will expand as it freezes, gently pushing against the shoe material. In the morning, let the ice thaw for 10 minutes before pulling the bags out.
We found this works best for shoes that are too tight in one specific area. It applies even pressure, unlike your foot which focuses pressure on the sole.
When to Use the Freezer Method
Use this method for leather or canvas shoes. It helps those materials give without the risk of heat damage. It is also great for shoes with a plastic toe cap that digs in.
Do not use this on shoes with Gore-Tex or other waterproof membranes. The expanding ice can crack the waterproof layer. Stick to the hairdryer method for those technical shoes.
This is a slower process than heat, but it requires zero effort from you. Just prep the bags and wait. It is a smart trick to have in your back pocket.
Manual Flexing and Bending Techniques
Sometimes, you just need to manhandle the shoe a bit. Manual flexing loosens the midsole and breaks up the stiff foam. This is a quick way to make the shoe feel less board-like.
It is like kneading dough. You are working the material to make it pliable. This is a great warm-up before you wear them out.
Twist and Fold Exercises for the Sole
Take the shoe in both hands. Grab the toe with one hand and the heel with the other. Twist them in opposite directions, like you are wringing out a towel.
Hold the twist for 15 seconds, then release. Repeat this 5 times. Next, fold the shoe in half, pressing the toe down toward the heel. You will feel the sole give and become more flexible.
We found that this loosens the glue joints and the foam. It mimics the bending motion of walking, speeding up the break-in process. Do this for both shoes before you even put them on.
Adding Pressure to the Heel Counter
The heel counter is often the stiffest part. To soften it, use your thumbs to press firmly on the back of the heel. Push inward and massage the area for a few minutes.
You can also use the handle of a wooden spoon. Press it against the inside of the heel and push outward. This helps stretch the collar so it doesn’t rub your Achilles tendon.
This targeted pressure works well with the heat method. Warm up the heel with a hairdryer first, then press and massage. This combination gives you the fastest results for heel pain.
Wearing Your Shoes Around the House
Your feet are the best stretching tool you own. Wearing the shoes indoors is the most natural way to break them in. It lets the shoe mold to your unique foot shape. For a comfortable option that may need less breaking in, our review of the Easy Spirit Romy walking shoe is worth a look.
The key is to do it in short, controlled bursts. Do not walk a marathon in brand new shoes. That is a direct ticket to blisters and sore feet.
The Short Walk Strategy
Put on your shoes with your normal socks. Walk around the house for just 30 minutes. Focus on normal walking motions, including going up and down stairs if you have them.
If you feel any hot spots or friction, stop immediately. Take the shoes off and address the tight area. Pushing through the pain will only cause blisters.
We found that doing this for a few days is very effective. The shoe gradually conforms to your foot’s pressure points. It is a simple, low-risk approach that works.
Increasing Wear Time Gradually
Day one, wear them for 30 minutes. Day two, bump it up to an hour. Day three, try two hours. This gradual increase lets your feet adapt without shock.
Pay attention to how the shoe feels as it warms up. New shoes often feel tighter in the first five minutes. Once your body heat warms the foam, they expand slightly and feel better.
This is the safest method for expensive shoes. It takes a bit longer, but you run zero risk of ruining them. It is a patient approach that pays off.
Using Shoe Stretchers and Specialty Tools
For stubborn spots, a shoe stretcher is worth the investment. These tools apply constant pressure overnight. They are great for fixing a specific problem area like a bunion or pinky toe pinch.
Many stretchers come with adjustable knobs. You can target the exact spot that is causing you grief. This is a professional-grade solution for home use.
Choosing the Right Stretcher for Your Shoes
Look for a stretcher made of wood. Wood absorbs moisture and expands naturally. Plastic stretchers are cheaper but do not work as well for deep stretching.
Make sure the stretcher fits your shoe size. A stretcher that is too small won’t apply enough pressure. One that is too big can overstretch and distort the shoe shape.
We found that using a stretching spray alongside the tool is very effective. The spray softens the fibers, making the stretch easier. It is a simple addition that speeds things up.
Application Tips for Best Results
Insert the stretcher into the shoe. Crank the handle to expand it until you feel resistance. Leave it in for at least 8 hours or overnight.
For a tight heel, use the heel attachment that comes with most stretchers. This is a separate piece that focuses on the ankle area. It is perfect for breaking in that stiff heel counter.
This method is excellent for leather shoes. It provides a steady, consistent stretch that mimics wearing them. It is a great alternative if you cannot wear them around the house.
Protecting Your Feet During the Break-In Period
Even with the best methods, your feet need a little backup. Blisters happen when friction meets moisture. You want to reduce both to keep your feet happy.
Preparation is your best defense. A little bit of protection goes a long way. Let’s make sure you can walk pain-free from day one.
Using Bandages and Lubricants
Apply a blister prevention balm or petroleum jelly to your heels and toes. This reduces friction. We found that this simple step prevents most hot spots.
Use moleskin or blister bandages on known problem areas. Apply them before you put your shoes on. Do not wait until you feel the pain to add protection.
Many runners use “body glide” style sticks. They are easy to apply and don’t leave a messy residue. They are a lifesaver for the back of your heel.
Choosing the Right Socks
Your socks are your first line of defense. Wear socks made of merino wool or synthetic blends. These wick moisture away and reduce friction.
Avoid 100% cotton socks. They absorb sweat and get heavy. This increases friction and makes blisters more likely.
Look for socks with seamless toes. A seam rubbing against your toes is a guaranteed blister maker. This is a simple upgrade that makes a huge difference.
Quick Checklist for a Painless Break-In
Here is your go-to list for getting those new shoes road-ready. Follow these steps and you will be walking comfortably in no time.
- Inspect the shoe for any loose threads or rough edges inside that could cause irritation.
- Start with the hairdryer method on medium heat with thick socks for 20 minutes.
- Freeze water bags inside the shoes overnight to stretch tight toe boxes.
- Manually twist and fold the sole to loosen the midsole foam.
- Wear them indoors for short 30-minute sessions over a few days.
- Apply blister protection to your heels and toes before every wear.
If you follow these steps, your shoes will feel like they were made for you. You will be ready to hit the trails or the sidewalks without a second thought. Your feet will thank you.
ConclusionBreaking in walking shoes does not have to be a painful marathon. You can use heat, freezing water, or just your own two feet to speed things up. The trick is to soften the stiff spots and protect your skin from friction while the shoe molds to you.
Start with the hairdryer and thick sock method tonight. It is the fastest way to get noticeable results in under an hour. Then, wear them around the house for 30 minutes daily until they feel like they belong on your feet.
Your new shoes should feel supportive, not punishing. With these tips, you will be ready for long walks in record time. Your feet will thank you for taking the smart approach.
Frequently Asked Questions
Can I break in walking shoes too fast?
Yes, you can rush it and cause damage. Overheating the glue or forcing a stretch can ruin the shoe’s structure. Stick to gradual methods and stop if you feel sharp pain.
How long does it normally take to break in walking shoes?
With the heat method, you can see major improvement in one evening. Without any help, it usually takes about one to two weeks of regular wear. The freezer trick works overnight for tight toe boxes.
Should I buy walking shoes a half size bigger to avoid breaking them in?
No, you should buy shoes that fit your true size. A half size too big can cause heel slippage and blisters. You want a snug fit that will stretch slightly, not a loose shoe.
Can I use a blow dryer on waterproof walking shoes?
You can, but keep the heat on low and keep the dryer moving. High heat can damage the waterproof membrane. For Gore-Tex shoes, try the thick sock method without heat instead.
Is it normal for new walking shoes to hurt at first?
Some mild tightness is normal, but sharp pain is not. You should feel pressure, not pinching. If a shoe hurts intensely from day one, it may not be the right shape for your foot.